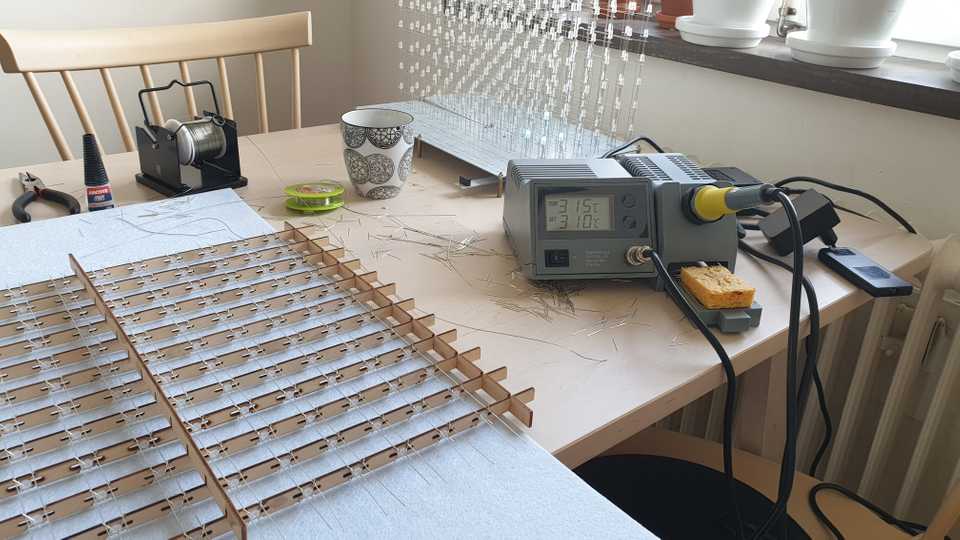
Let’s continue on our journey to build a 12x12x12 RGB LED cube for music visualization!
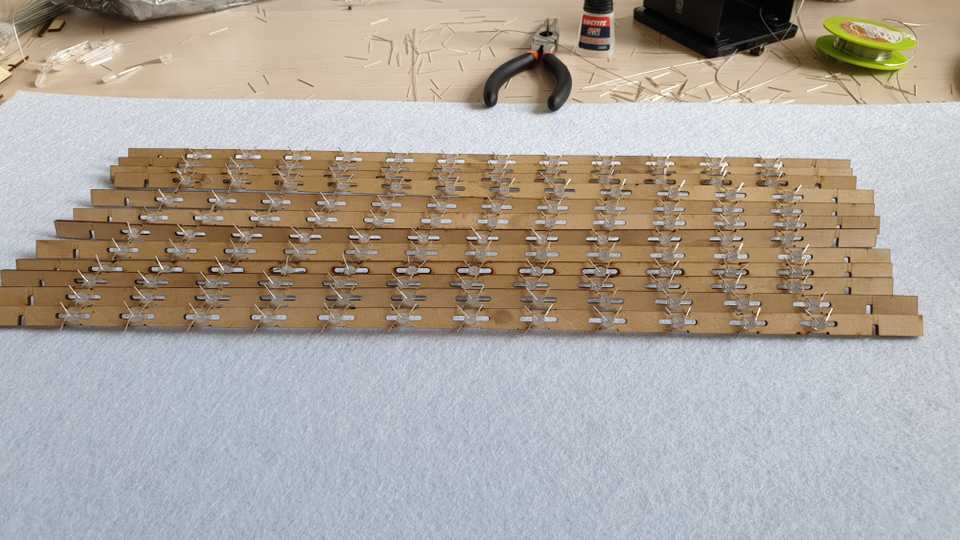
Hopefully you have followed Step 1 from the last part 12 times and ended up with 12 rows looking like this:
Step 2: Build a single layer out of 12 rows
Next, we will assemble these rows into one of 12 layers of LEDs for the cube.
Step 2.1: Add wooden supports
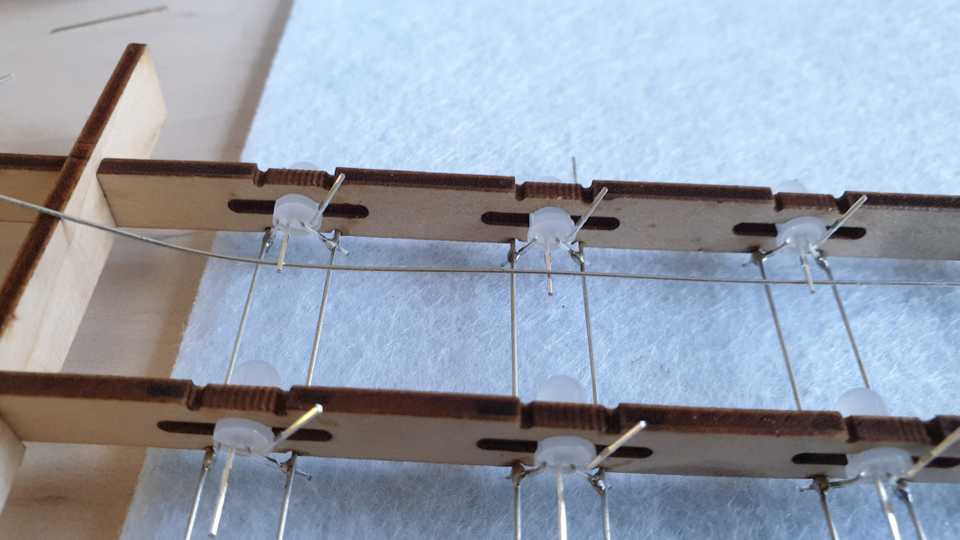
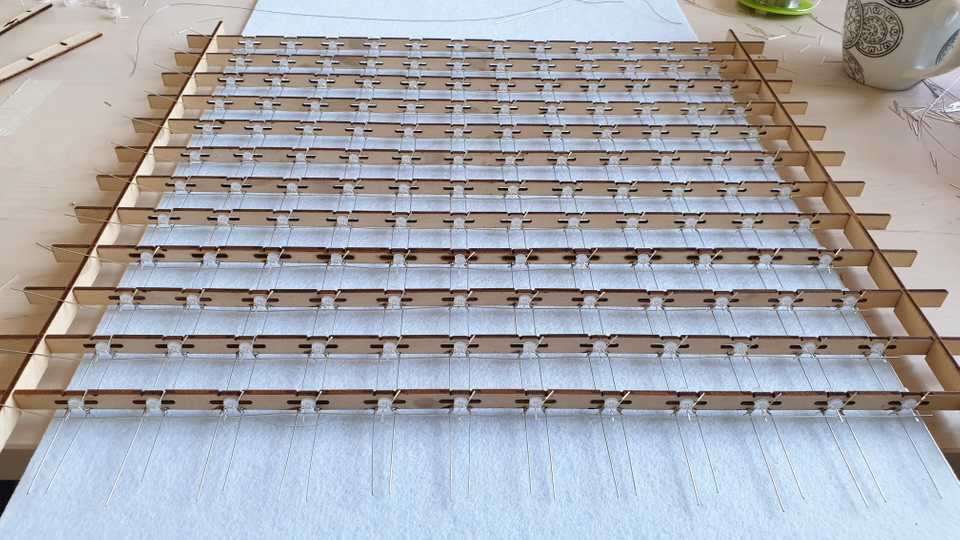
Let’s start by arranging the rows in a matrix using wooden supports. Since we oriented the LEDs the way we did, they should now each have two leads pointing up (for the red and green color channels) which will be very useful during the soldering process.
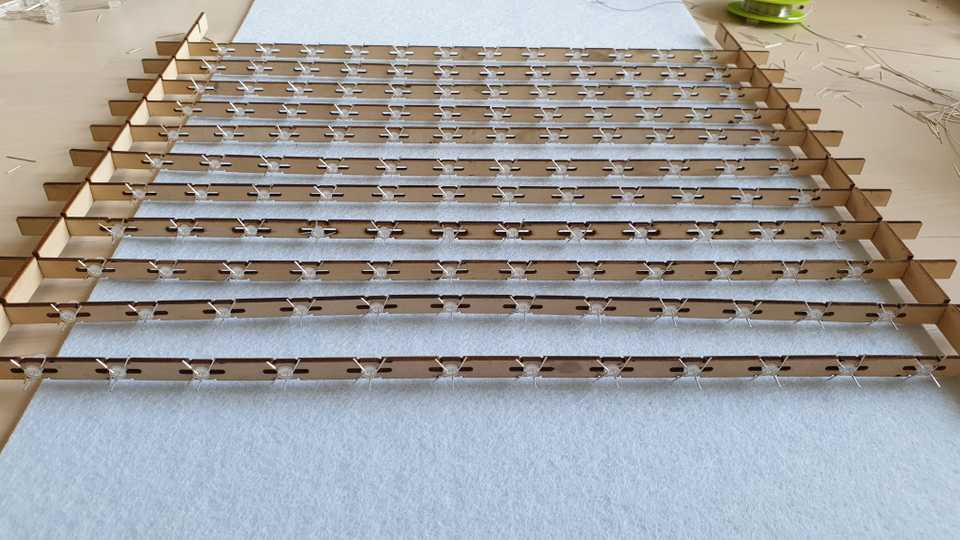
First, add wooden supports for the sides:
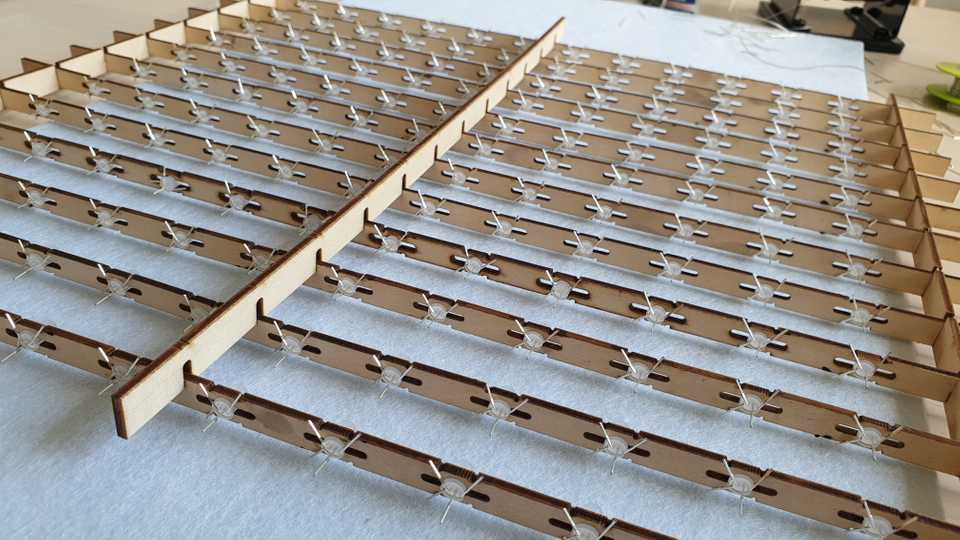
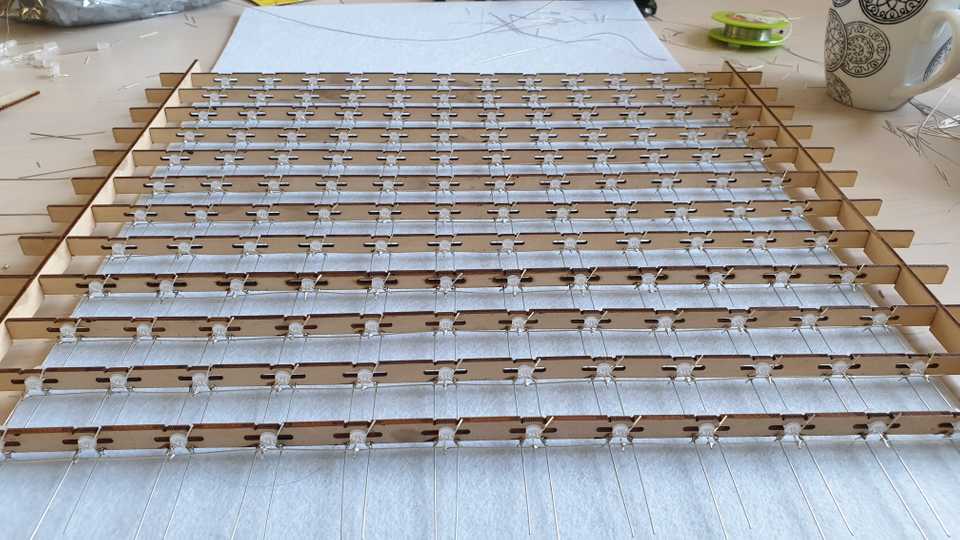
As you can see, some of the wood is a bit warped, so I recommend adding another support through the middle to straighten everything out:
Step 2.2: Solder wires for R and G leads
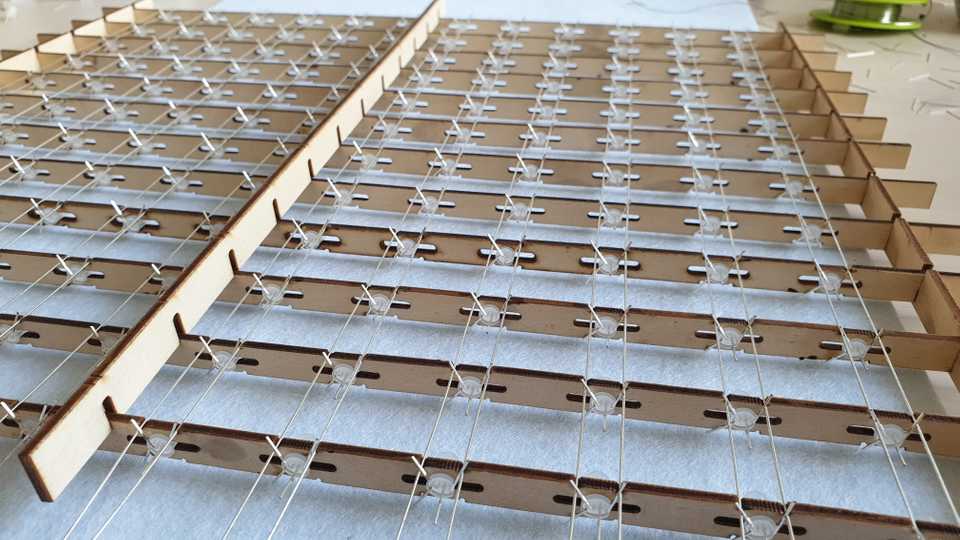
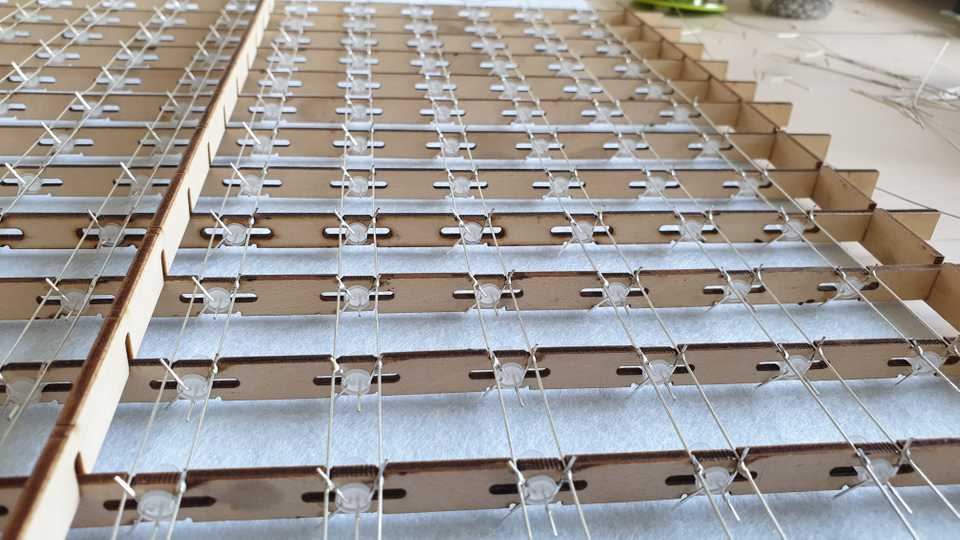
If you followed my instructions from the last part, you should be able to “snap in” tinned copper wires so that they are held in place by the LED leads. Since we are starting with the side that has two leads per LED, it also effectively holds the LEDs in place through the upwards pressure.
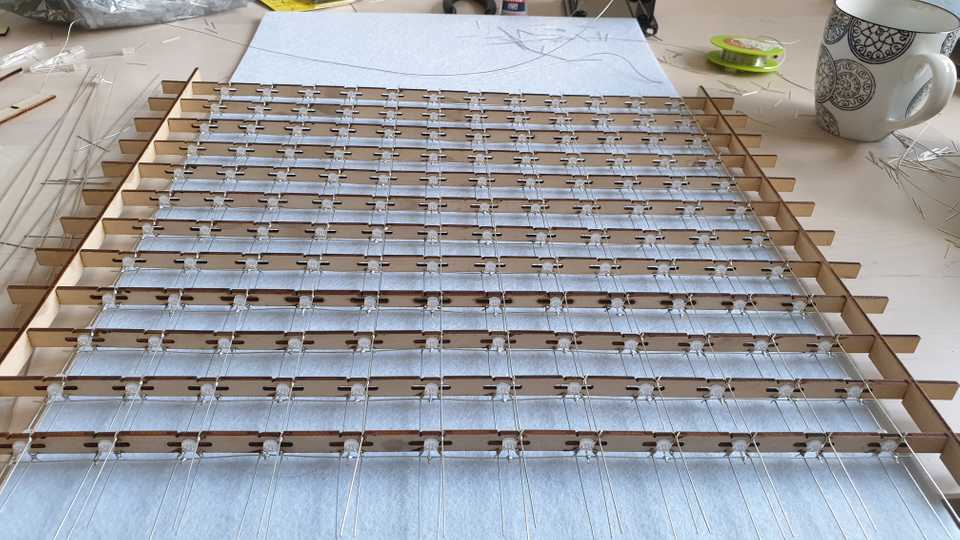
Now you can solder the 288 solder joints. Use a lot of solder, because these points will be holding up the entire structure.
About half way through, the LEDs will be holding each row in place enough to remove the vertical wooden middle support:
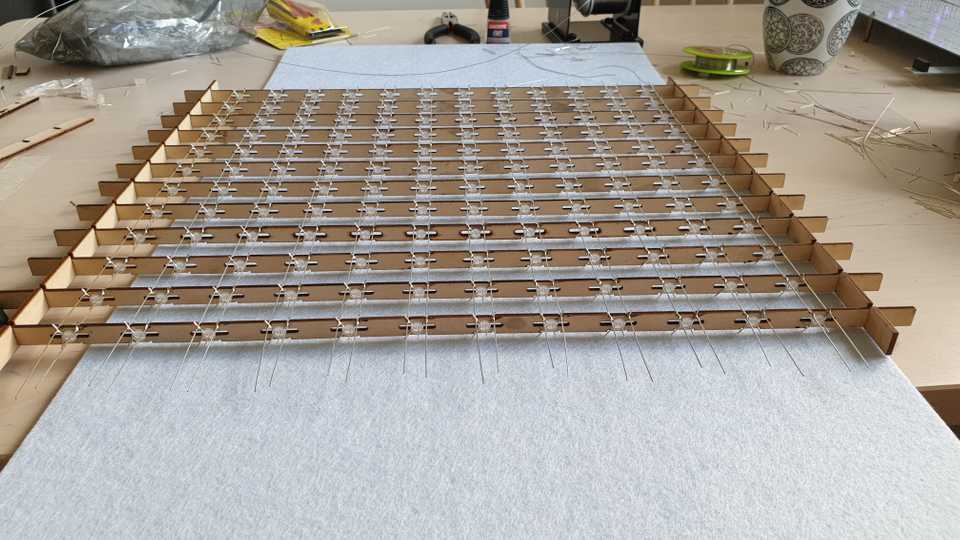
This is what the entire matrix looks like when finished:
Step 2.2: Solder horizontal wires for anodes
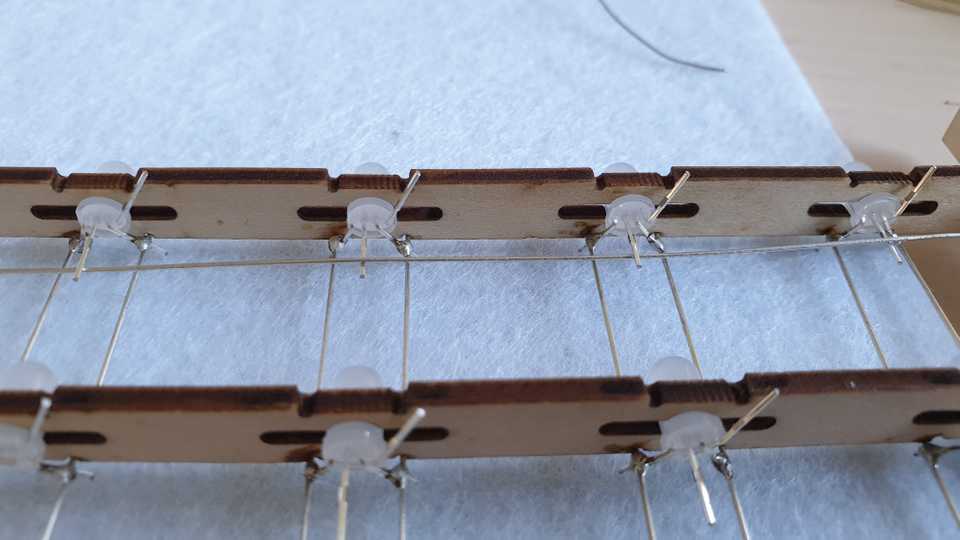
We can flip over the workpiece and start “weaving” wire through the LED anodes, to keep the wire in place. I like to start to the right, with the first wire going above the LED.
This will naturally create tension at the end which pushes the wire into place:
When you are done weaving, it looks like this:
Time to solder another 144 joints!
At this point, it’s a good idea to trim the extra wire to the left to create a symmetric piece.
Step 2.3: Solder wires for B leads
Now you can use the same method as for the R and G leads. Since everything else is being held into place by solder, you can now also “snap” the blue joints into place, then solder another 144 joints.
You will repeat step 2 a total of 12 times, which at 576 solder joints per layer means a total of 6912 solder joints. Phew!
Read on for the next part to learn how to mount this layer vertically, and test it out!

