Last time, we completed building the LED matrix for the RGB cube. Here’s a super quick update since I’ve been travelling lately.
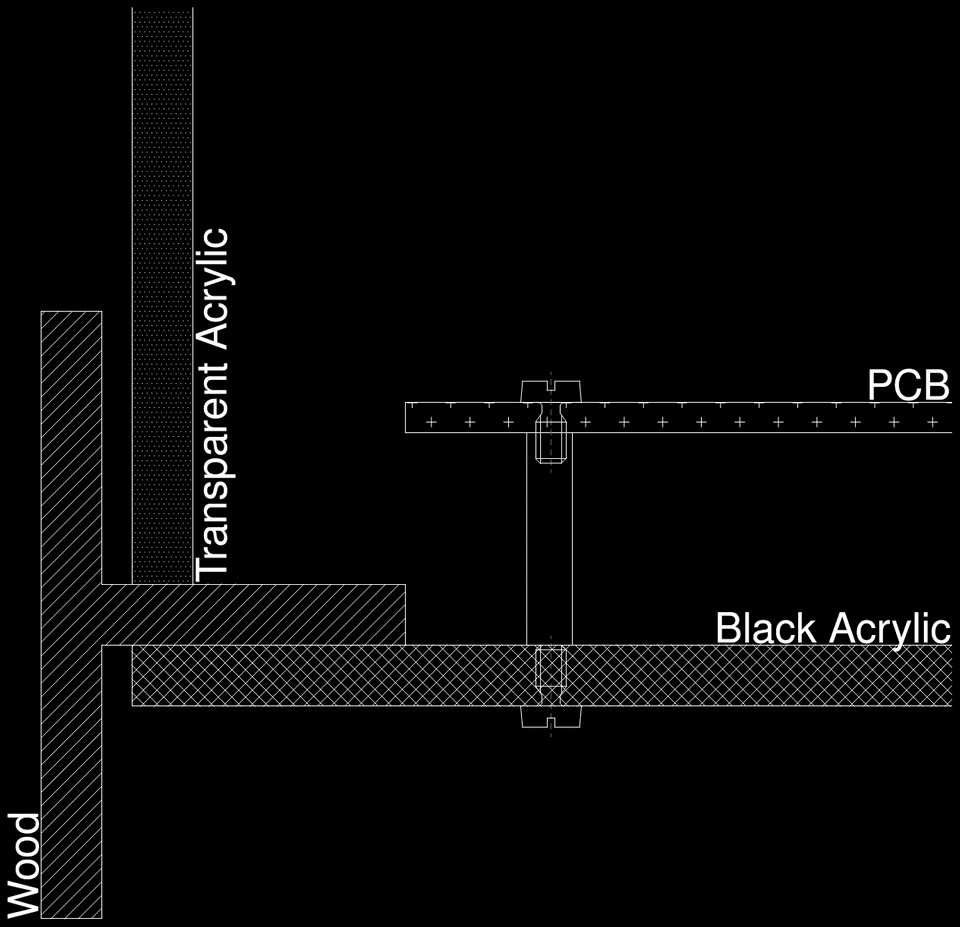
I decided to create an acrylic box for the cube. To start, I wanted to have a base where I can attach the PCB of the cube as well as carry a transparent acrylic box. Here is a super quick CAD drawing of the cross section (not to scale).
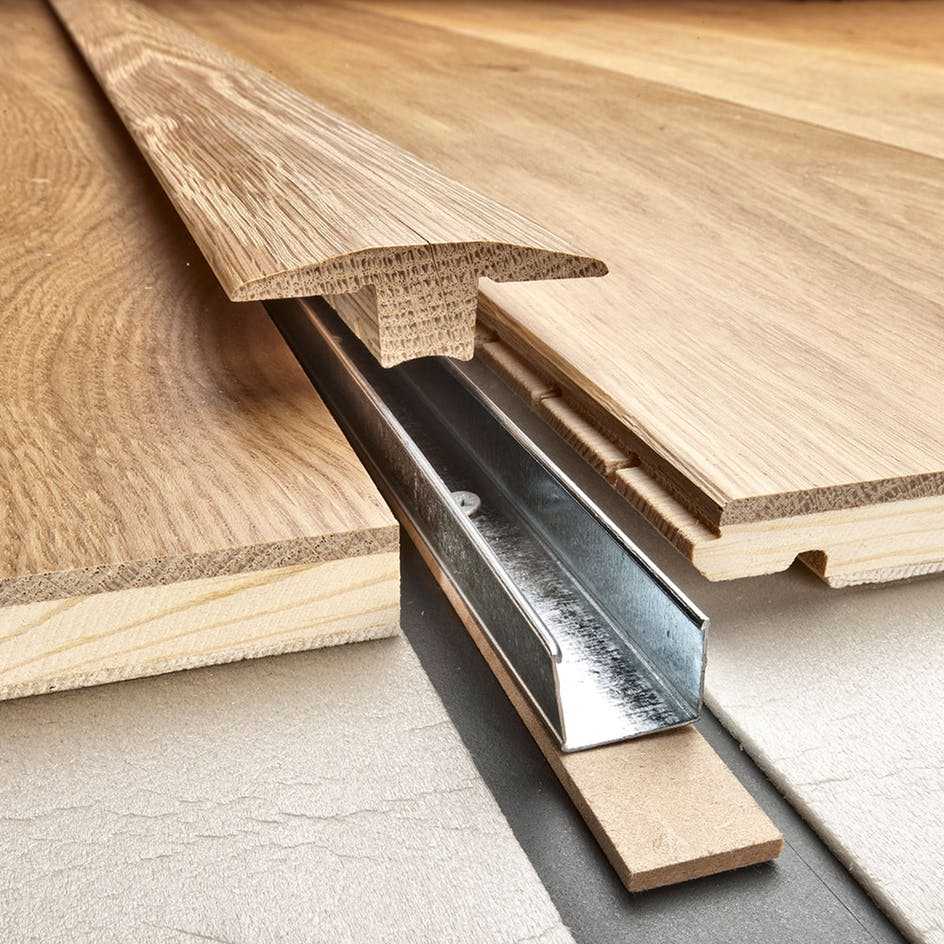
For the wood section, I hence need a T-shaped piece of wood that I can make into a frame. I ended up using an off-the-shelf piece of wood that you’d normally use as a “threshold” between two wooden floors, like this (not using exactly the piece of wood from the picture).
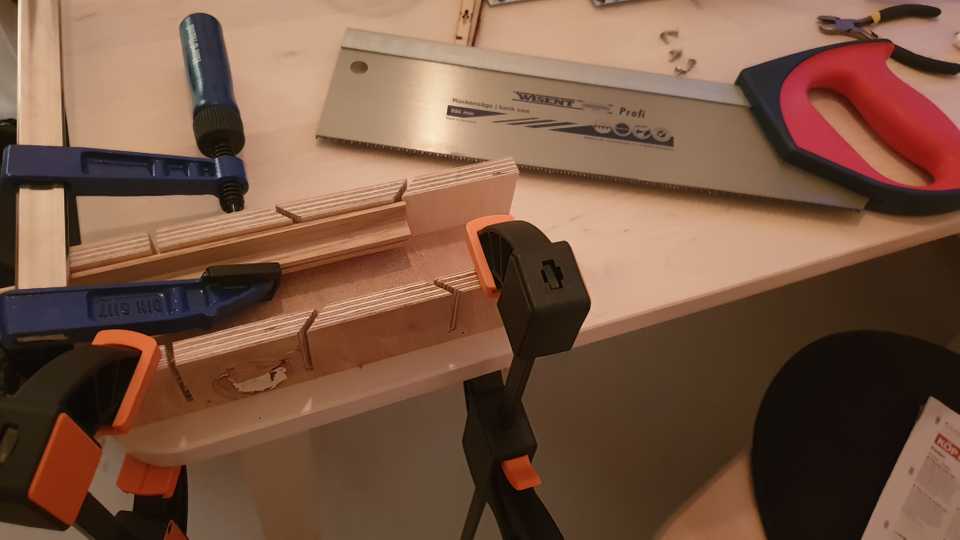
So, I cut it square using this super temporary kitchen table setup.
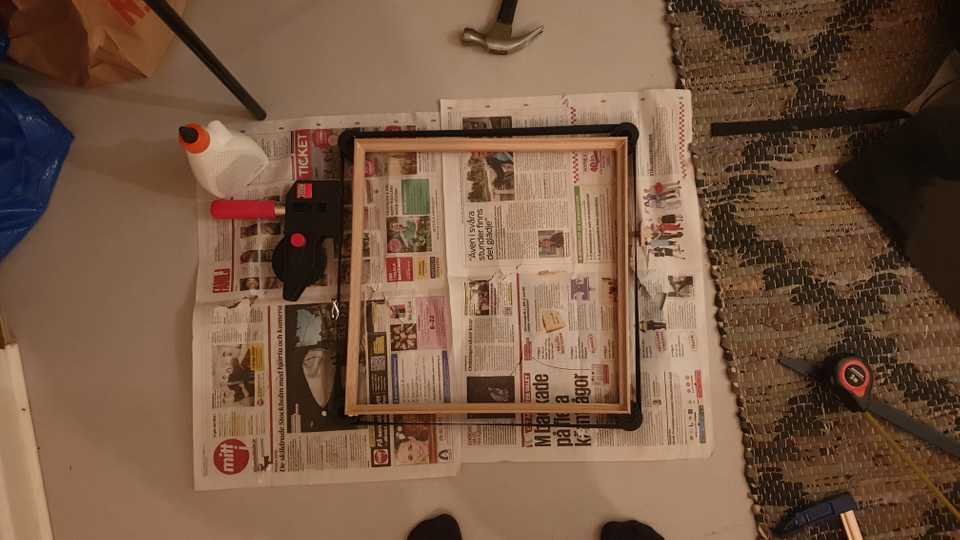
Given 4 pieces that are each cut to 45° angles at each end, it is now easy to glue them together into a frame. I couldn’t make it completely square because of the transparent acrylic box I want to put on top isn’t perfectly square.
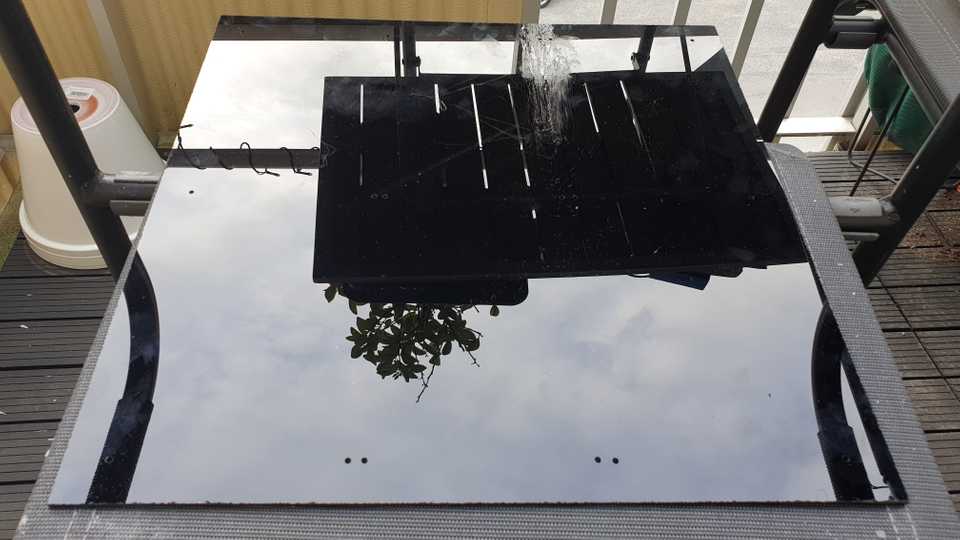
While the frame is gluing, I can work on creating an acrylic black sheet to use as the foundation. I drilled some holes to match with the mounting holes on the PCBs. Of course, I managed to crack the acrylic in one place, but I added another acrylic sheet (two layers in total) and glued them together so that they can support each other. The actual glue won’t be visible since this will all be underneath the PCBs.
Since I used Acrifix as the glue, it smelled rancid and took forever to dry, so I had to leave it outdoors for a long time before the next step.
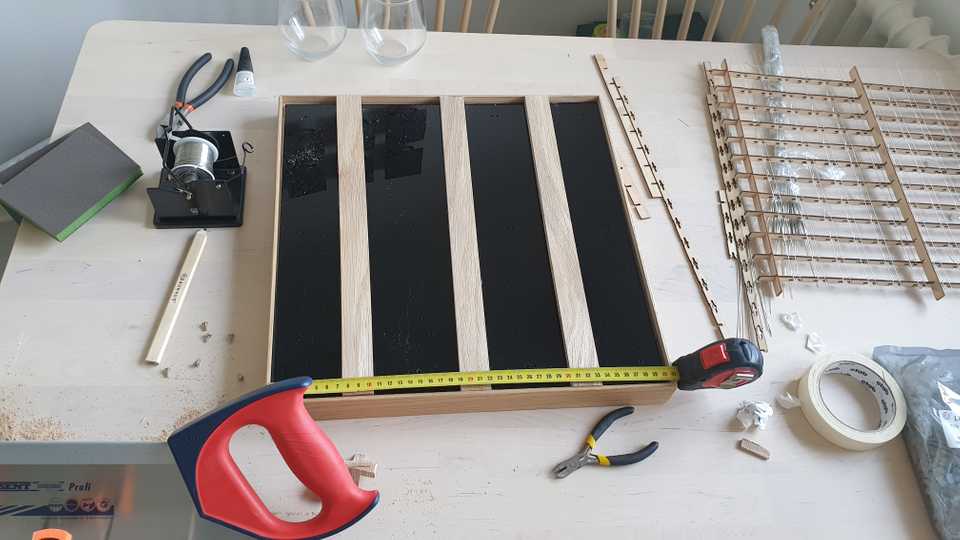
Finally, I was able to combine the acrylic sheets with the wooden frame, by putting a few wooden supports to hold up the acrylic sheets against the underside of the frame.
This makes it possible to attach the PCBs with screws and then drop the acrylic display case on top of it. I made the display case simply by gluing 5 transparent acrylic sheets together (somewhat sloppily). The sheets are frosted on one side to help create an interesting effect. Here’s what the final product looks like.
Here, the cube is running a program I found on the internet. Next time, we can actually start writing custom software for this thing!

